Stampin’ Up! Annual Catalog
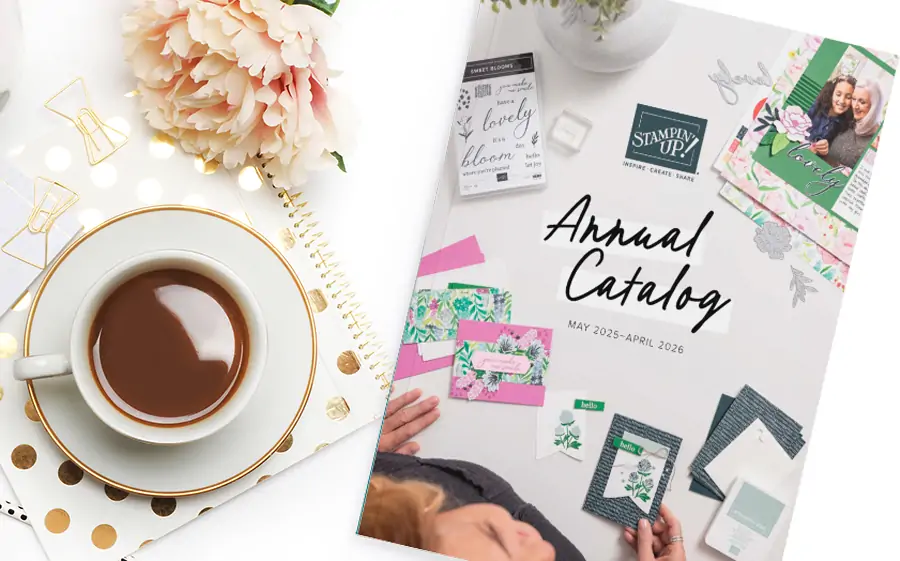
The new Stampin’ Up! Catalog is here! CLICK HERE to download the online catalog and view full color samples and accessory details. To shop the new catalog, click here to shop the catalog in […]
Stampin’ Up! Annual Catalog Read More »